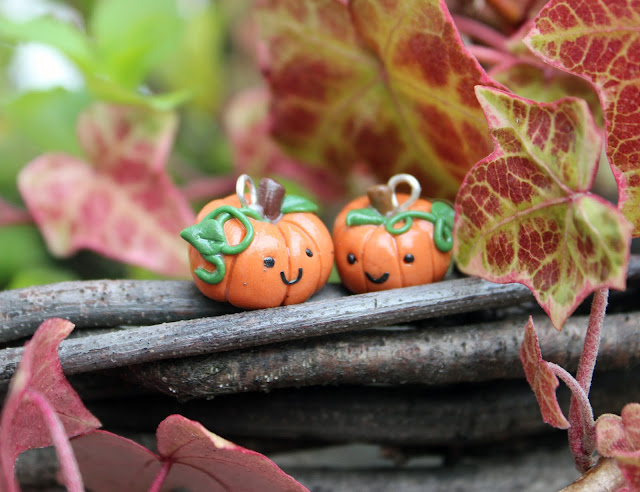
[Adults only please, or adult supervision, as this involves hot ovens, potential varnish and a clay cutting blade - pumpkin creation can be a dangerous business!]
Materials
Here's what you'll need to get started:
- Polymer clay in green, orange, brown and black (I used Fimo in leaf green, cognac, chocolate and black)
- Nice clean flat surface – I use cheap bathroom tiles as these can go straight into the oven to bake the clay when you’re done
- Flat clay cutting blade (or anything similar)
- Toothpick or ball stylus
- Optional – liquid polymer clay
- Optional – wire and pliers to make a loop (if you want to make a charm for keyrings, jewellery etc)
If you'd like to varnish the finished charms you'll also need a pot of gloss varnish and an old paintbrush that you're not too attached to.
Make a ball of orange polymer clay sized to however big you want your finished pumpkin to be:
Place the ball on your tile and press it gently to slightly flatten the top and bottom and create a more pumpkin-ey shape:
Using the back of your clay cutting blade (or whatever thin tool you have to hand) press around the sides of the pumpkin to create sections...
... until you've made it all the way round. I made 8 sections by dividing it into quarters and then eighths.
This will be where the stalk and vine sit. I put a small blob of liquid polymer clay in here to help things stick together, but this is optional!
Roll a small piece of brown clay into a small ball and press into a cone shape to use for the stalk:
Roll your green clay into a thin snake and cut off a section to use as vine. Also cut off some tiny sections to shape into leaves.
Push the stalk (thin end of the cone) and one end of the vine into the hole you made earlier (see pictures further down if you want to add a wire loop here).
Press the vine onto the side of your pumpkin carefully, looping or bending it as you go to make a pretty shape:
Cut off any spare length on the vine.
Shape the tiny pieces of green clay you cut off earlier into leaves. I make a small ball, press it flat on the tile and then squish one end between my fingers. The leaves I've made are completely the wrong shape for pumpkin vine leaves, but a bit simpler than the real thing!
Place the leaves on the vine and then use a toothpick to make a little dent in the middle and press them onto the vine at the same time.
Make two little holes for eyes on the front of your pumpkin. Then roll two teeny balls of black clay and press them into the holes.
For the mouth I roll a very tiny snake of black clay, shape it into a smile on my finger and then press it on, but you could paint this on instead if that’s too fiddly and annoying!
All done and ready to bake!
For the example above I didn't use a loop, but if you'd like to add one just push it carefully into the pumpkin when you're adding the stalk and vine.
Once they've cooled down you can varnish the charms to make them a little more hard-wearing (and shiny!)
Paint a thin coat of varnish over the whole pumpkin using your paintbrush (make sure to rinse the brush out well afterwards). You can bend a bit of spare wire into a drying rack if you're worried about the pumpkins sticking to your tile:
Happy Halloween, and good luck with your pumpkin-making. I'd love to see how they turn out!


